
Star
Trek TOS Props
|
Communicators
Phasers
Tricorders
Star
Wars EP IV-VI Props
|
Helmets
Blasters
Stormtrooper Armor
Rebel Fleet Trooper
Lightsabers
Astro-Mech Droids
How-to Guides
Vacuform Table
Misc.
Sci-Fi Props
|
Cylon
Centurion
Viper Pilot Helmet
M41-a Pulse Rifle
Motion Tracker
B5 PPG
1964-1976
GIjOE Figures
|
Retro
Box Designs
Repair/Restoration
Replica Parts
40th Anniversary
World
War II Militaria
|
Replica
Weapons/Gear
Reenactment Units
ME262 Project
Civilian
Marksmanship Program
|
M1
Garand Rifle
M1903 Springfield
Rifle
M1 Carbine
Other
Stuff
|
Discussion
Board
Lauren Photo Albums
David's
Photo Album
Egner II Design
Fan Film Project
Blog - Online Journal
Please
note, that the images, logos, and respected artworks, are property of
the original copyright owners. TK560 has no affiliation with any of the
intellectual property owners. This is a fan site dealing with movie and
television replica props, original GIjOE action figures, World War II
memorabilia, and marksmanship/ firearms interests. Most of the images
used on this site are photographed by the site owners. Official logos
are used to identify specific products/ manufacturers.
Make your
own RFT Helmet
|
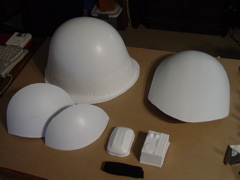
Make
sure you have all the parts. You should have:
|
Tools you will need:
|
Here is the PDF of the basic assembly guide mailed with the kits.
Next, you need
to do some sanding, and trimming to get all the edges looking neat
and clean.
|
|
 |
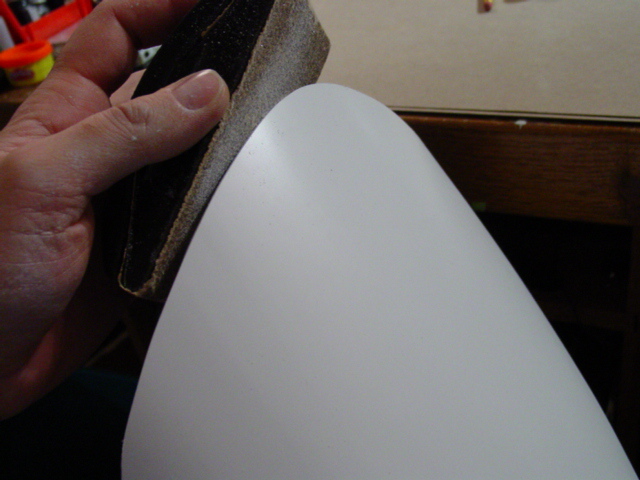
Here we are sanding the large visor, trying to make it as neat and as clean as possible. |
Making the edges nice and smooth, and rounding the edges. |
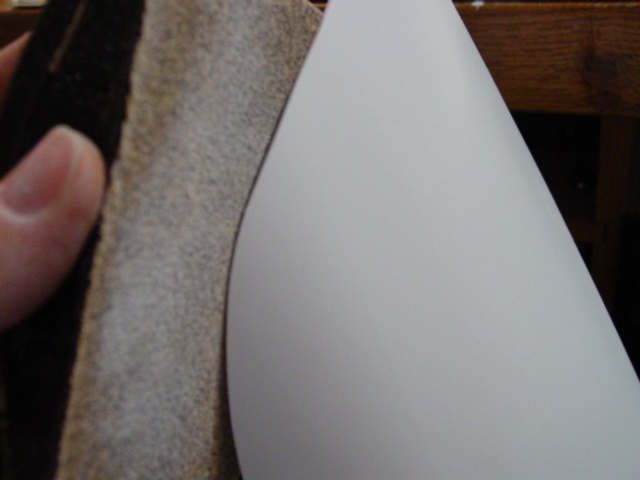
And sanding the smaller visor. Note the corners are not rounded. |
|
|
 |
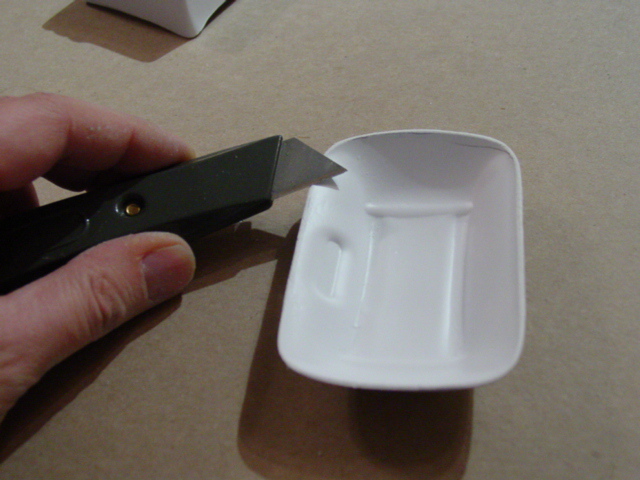
Trimming out the chin cup. |
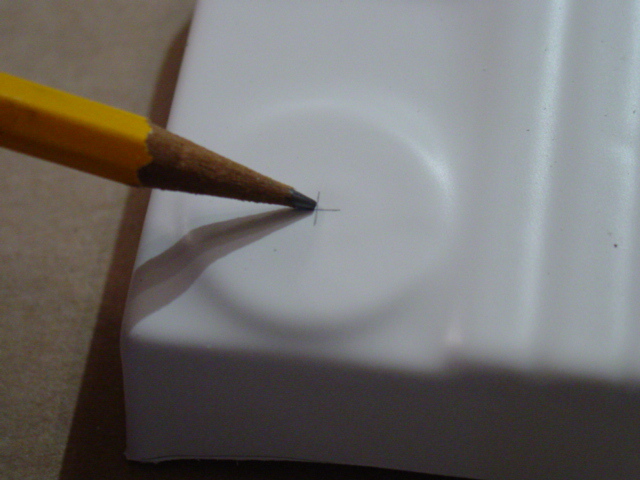
Marking the slot holes for the strap. |
And marking the drill hole for the communication box. |
|
 |
 |
| Trimming and fitting the comm box for a nice clean fit. Take your time! | Cleaning up the burrs on the swoop. | Straighten out any dips. |
 |
 |
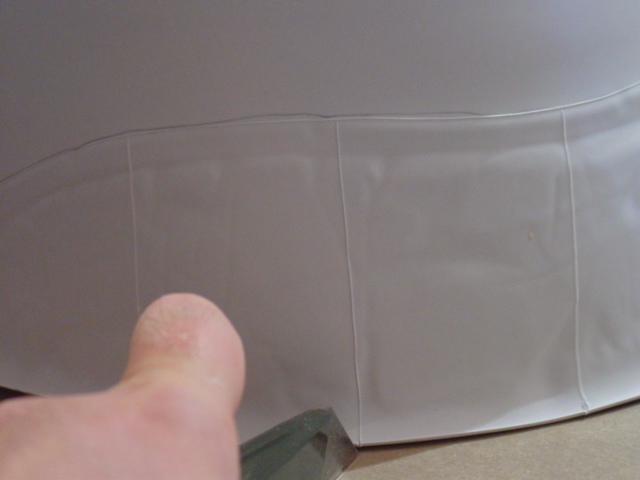 |
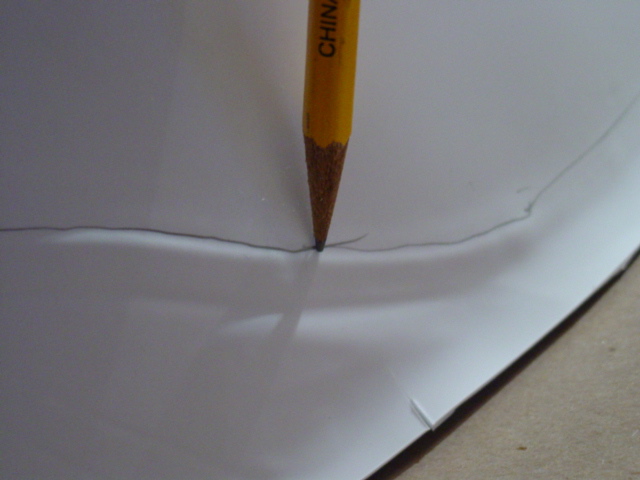
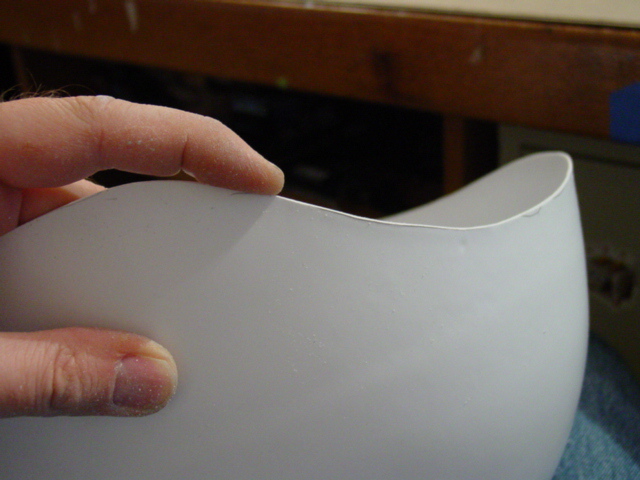
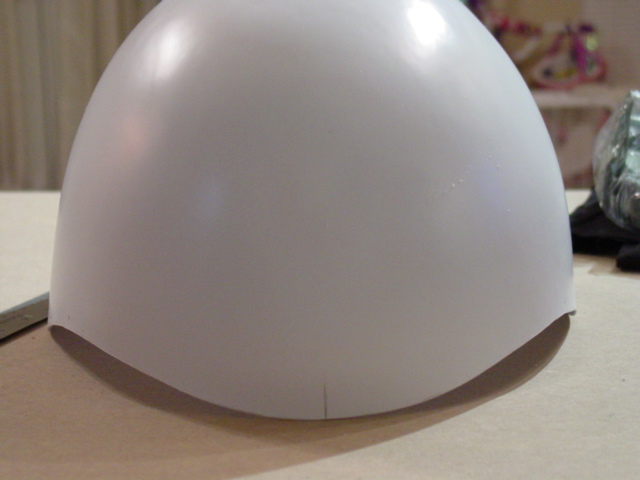
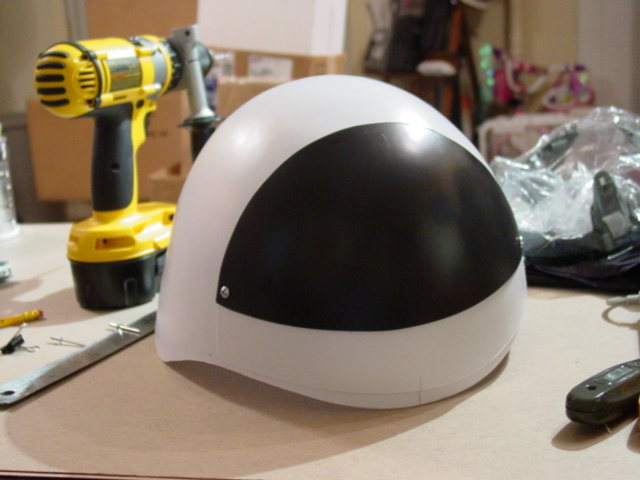
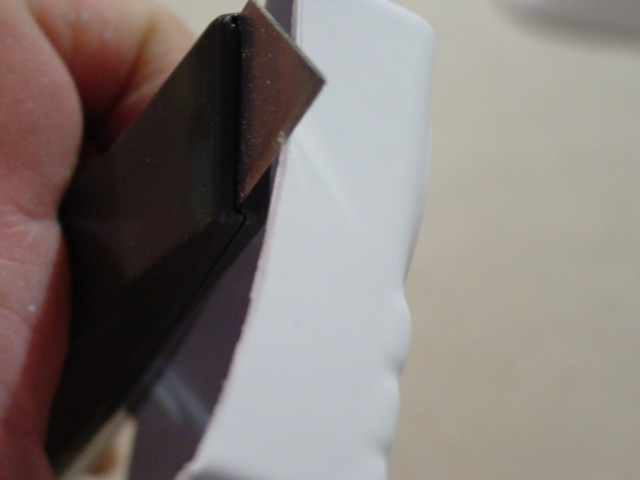
| Next, mark where you want to trim the helmet. For our fan film helmets, we trimmed off the 'lip'. | Now score with a utility knife along the pencil cut. You do not need to cut all the way through. | Now score down, and make relief cuts. |
 |
 |
 |
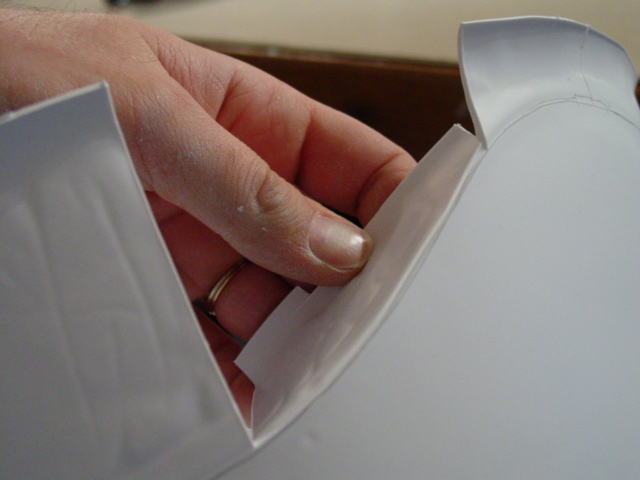
| Now bend and the part should snap off. | Like this. | And work your way around removing each segment. |
 |
 |
 |
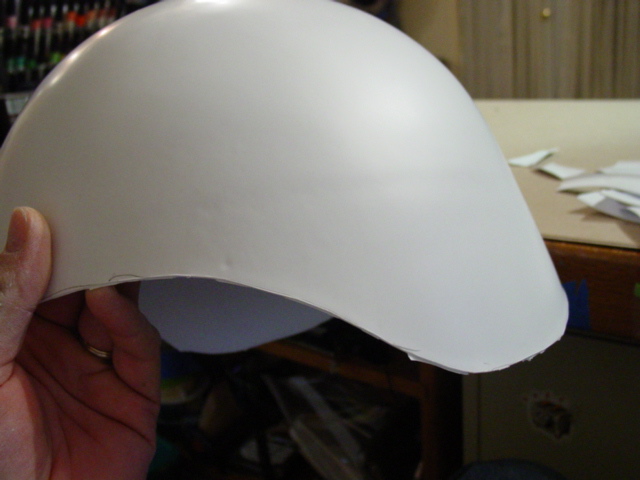
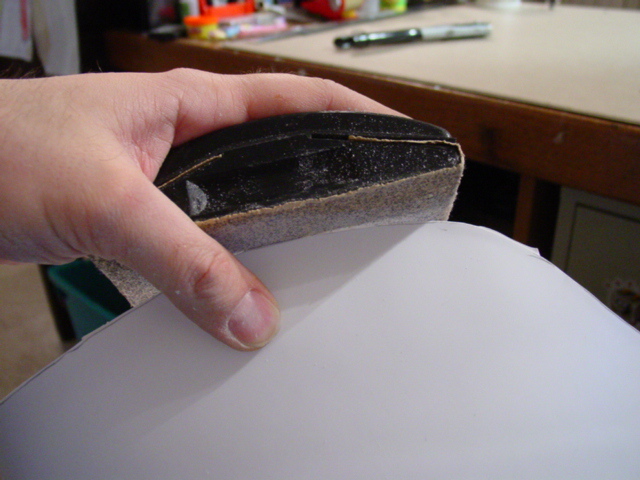
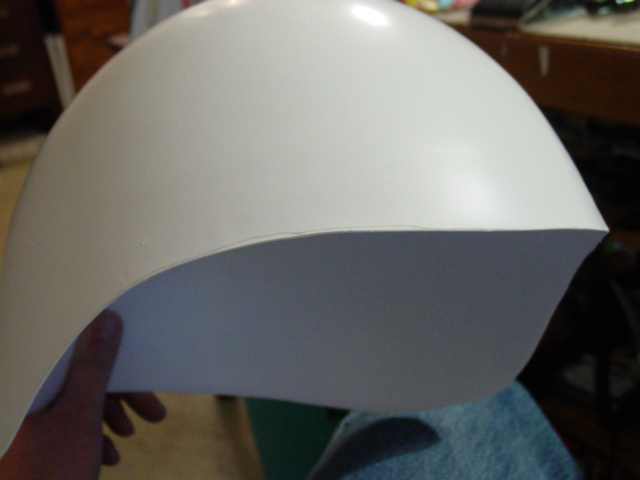
| Now you have the helmet shell ready to sand. Some of the Episode IV helmets were trimmed with a more angular edges. Most notably in the brim area, and corners around the temples and ears. | Sand the edges smooth. | You have a choice. Angular or smooth angles on the helmet. |
 |
 |
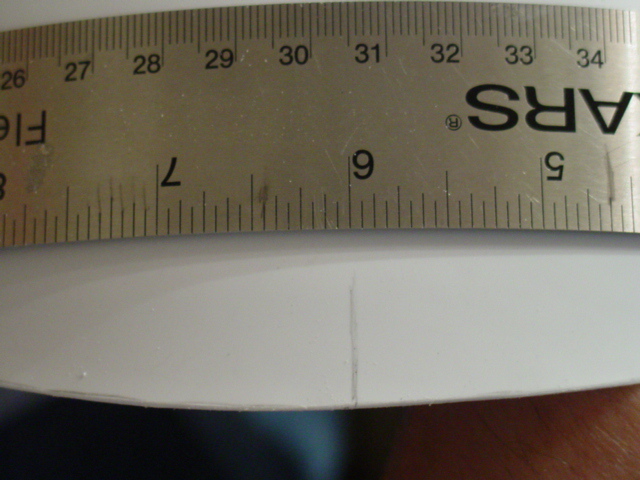 |
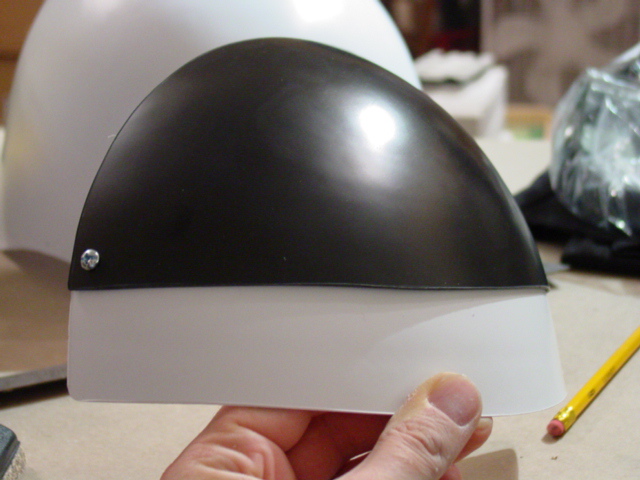
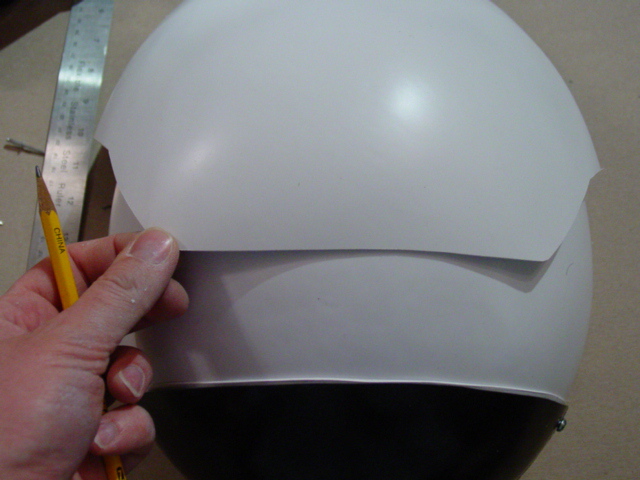
| Here I went with the smooth look. At this point, if you choose, paint the helmet a light gray. For the fan film helmets, we left the helmets the natural white. Also, the visors, and swoop would need painting. The black visors may need some gloss, if you want a really shiny look. | MARKING: Locate the two divets on the temple area, and measure. There should be about 12 inches in between. |
Mark this center point. |
 |
 |
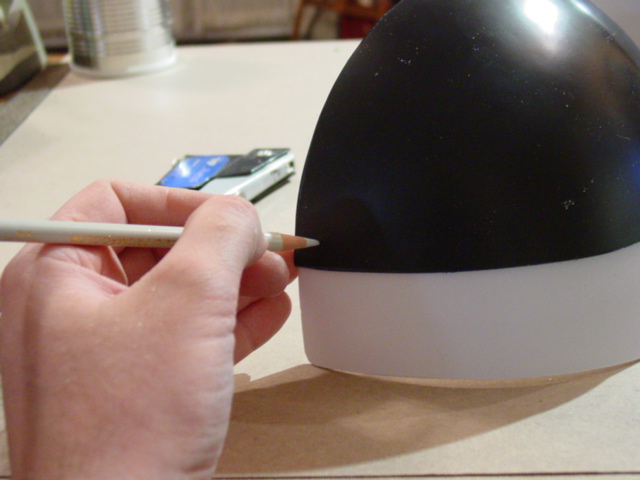 |
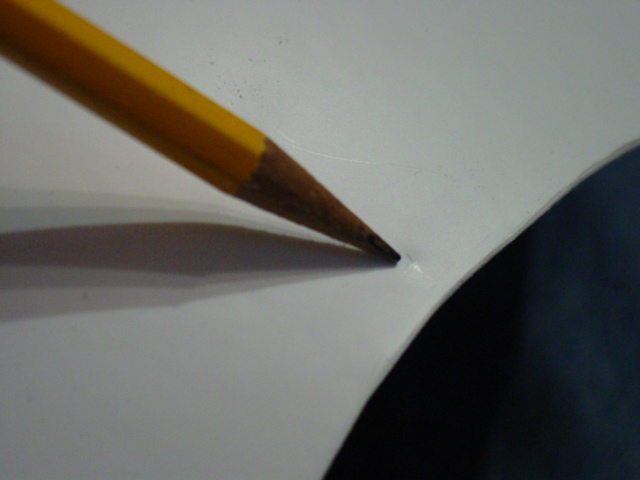
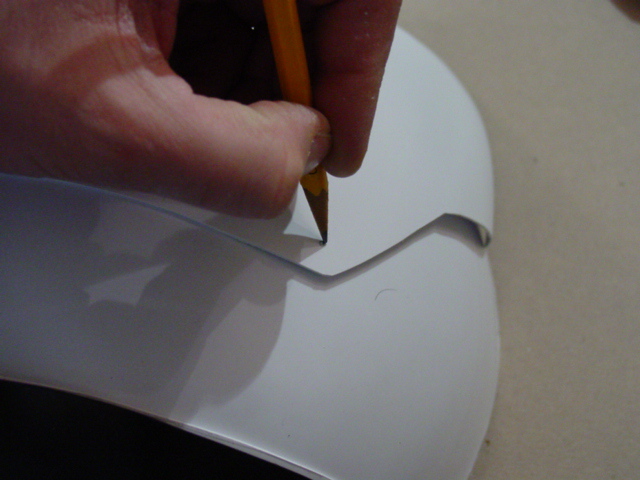
| This will serve as an alignment line. | Mark the center of the large visor. | Next, decide where you want the mounting holes should go. I went with a 1/4 inch off the back, and 1/2 inch off the bottom. I marked with a wax pencil. |
 |
 |
 |
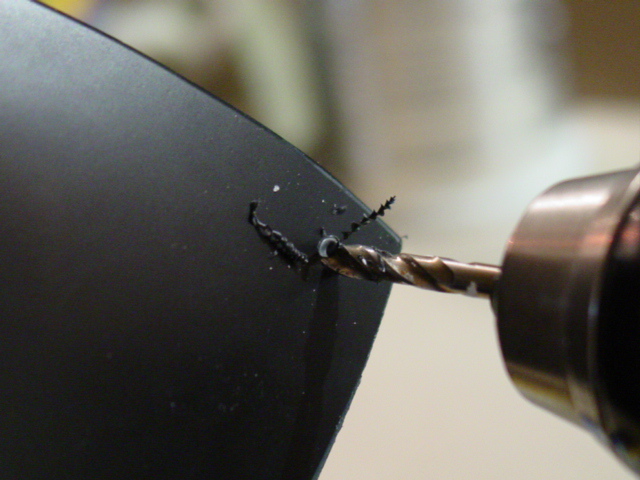
DRILLING: Find a drill bit the same size as your short bolt. |
Then test fit the bolt to the hole. | Next, align the small visor over the larger one. Mark the hole with a pencil. |
 |
 |
 |
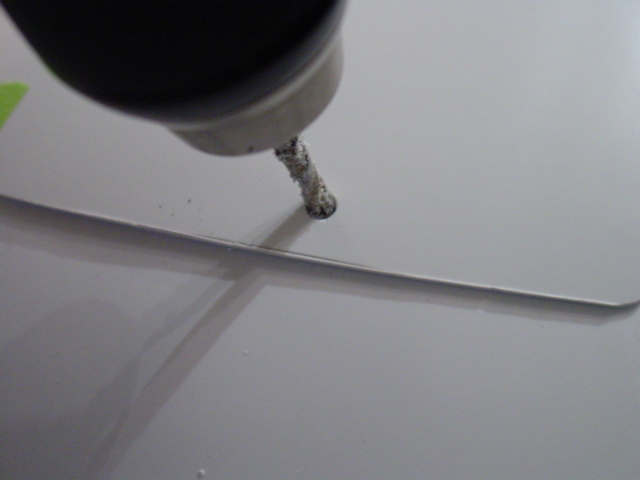
| And drill the hole in the larger visor. | Then test fit the two visors using the two bolts. | Next, take the large visor and tape it to the helmet shell, taking care to align the visor in the center of the helmet. |
 |
 |
 |
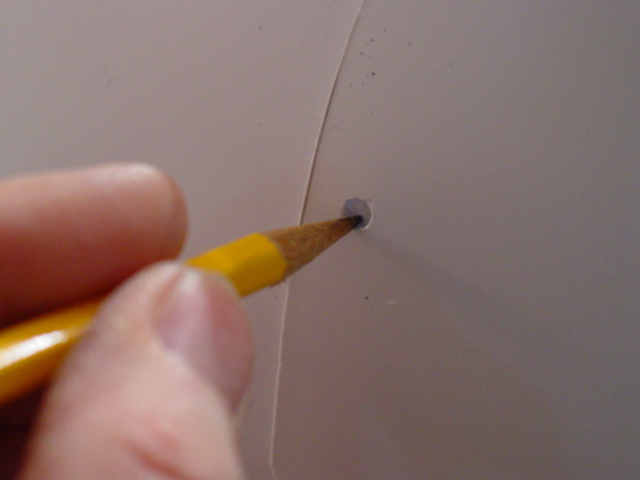
| And mark the hole on the helmet shell. | Drill the hole on the helmet. Here I drilled without removing the large visor. | Next, Fit the small visor to the large visor and bolt them to the helmet shell. |
 |
 |
 |
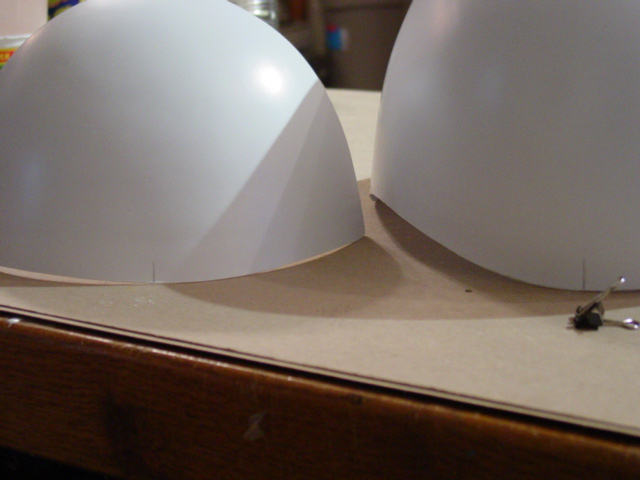
| Now take the swoop. you have some choices, as to how far back the visor sits on the helmet shell. I sat the helmet on the table and put the swoop on the t helmet with the bottom of the swoop resting on the table. Alignment looked like this. | Mark where you want the 1/8th inch rivet holes should be and drill. | Now mark the center of the helmet, and the center of the swoop.Mark the helmet where the drill holes are and drill the helmet shell. |
 |
 |
 |
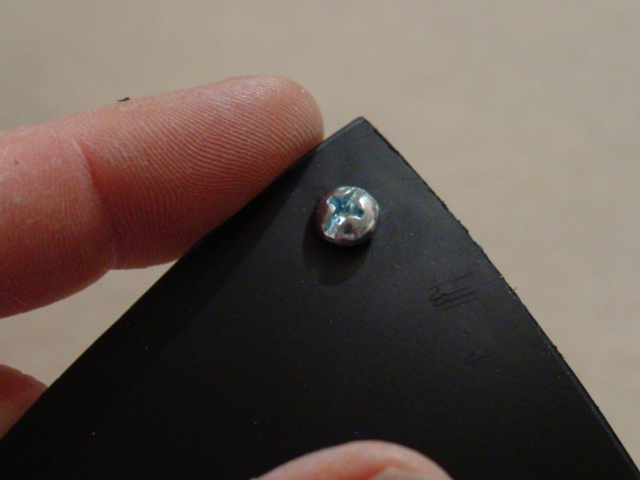
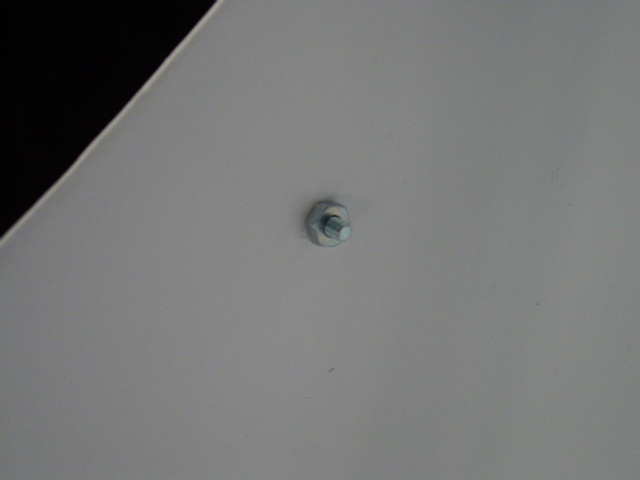
ATTACHING: Using an aluminum short pop rivet, |
...Insert into the helmet, place the washer on the rivet, on the inside of the helmet... | And pop-rivet that fastener on. |
 |
 |
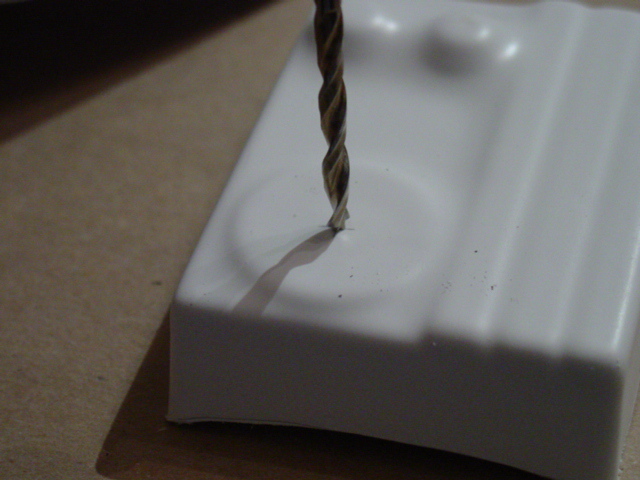 |
| Repeat for the other side. | The swoop is now attached. If you got it wrong, you can drill ou the rivet and try again. | Next, drill the comm box, using a bit that fits the long screw. |
 |
 |
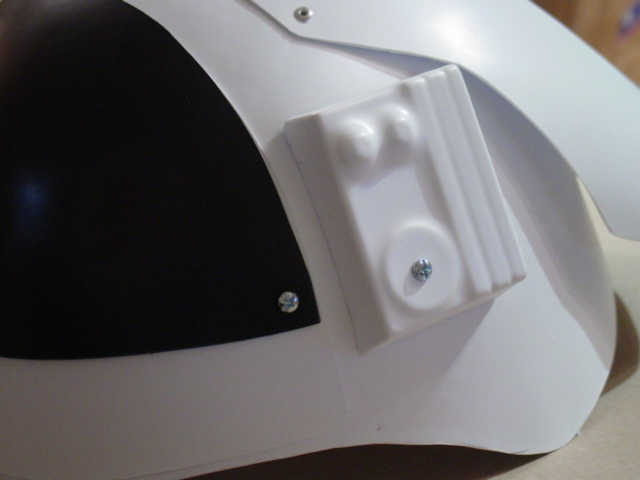 |
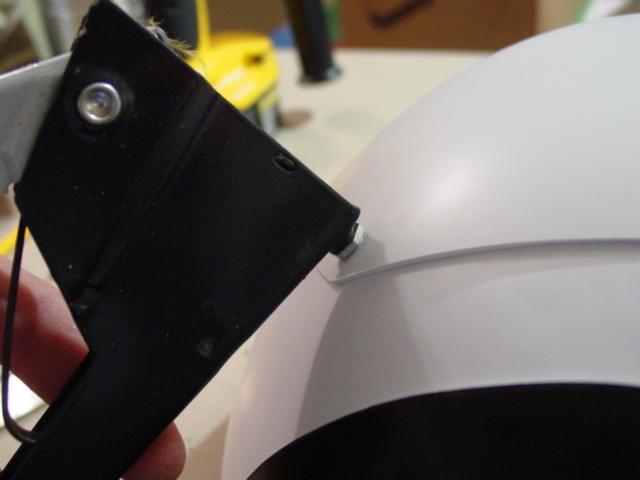
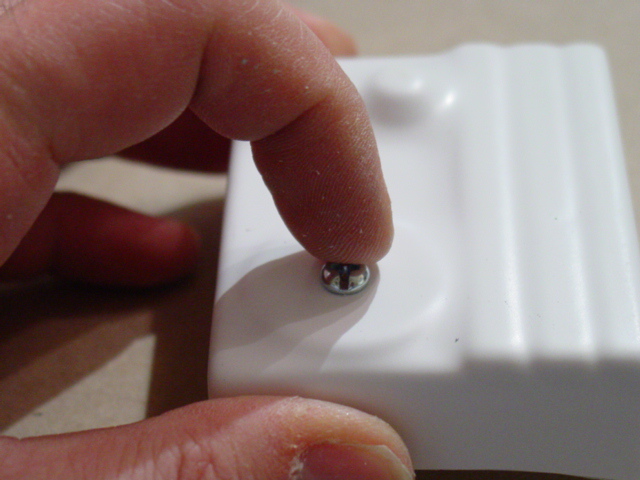
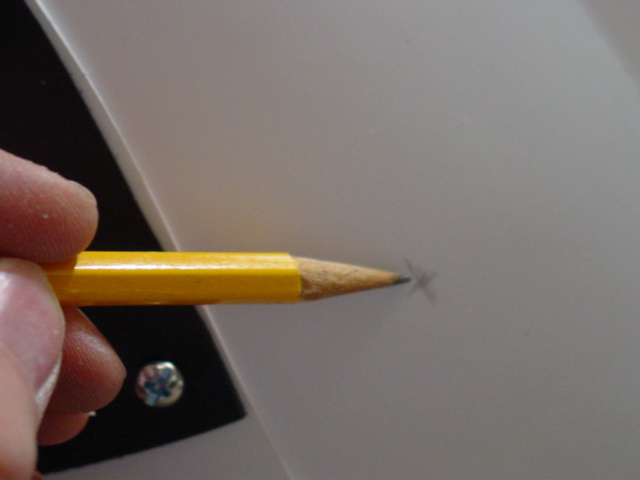
| Insert the screw. This will be the marker guide for the drill hole in the helmet shell. | Holding the comm box to the left temple area on the helmet shell, note where the bolt touches the helmet. Align the comm box where you want it, and mark. | Drill the hole in the helmet shell, and mount the comm box. |
 |
 |
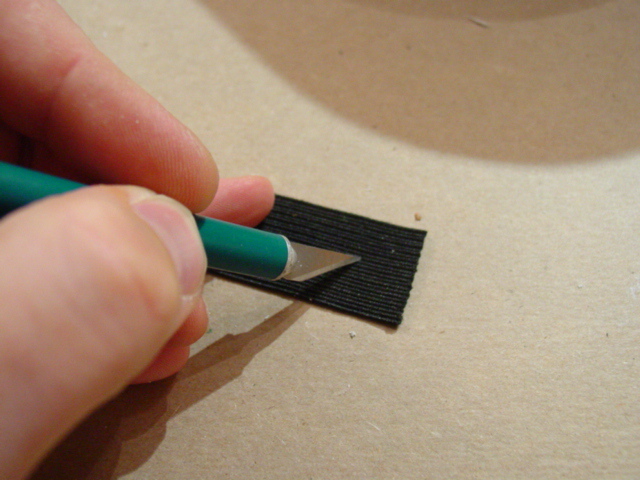 |
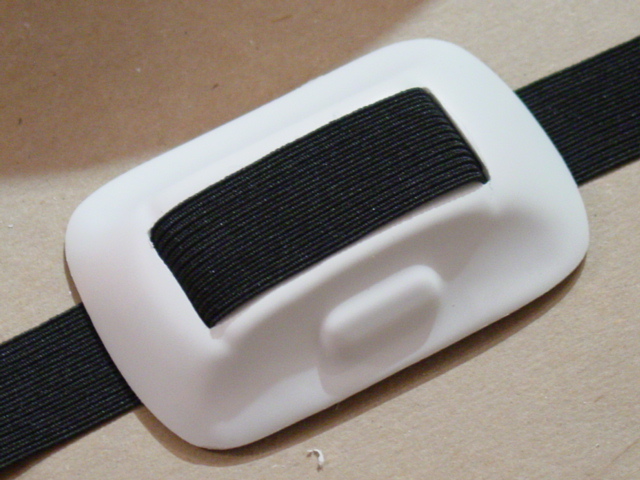
| Using the dremel with the cut off wheel, cut the slots for the chin cup. Sand the edges. | Lace the elastic strap through the two slots. Align the chin cup in the center of the elastic. | Using a sharp hobby knife, cut a small hole in the left hand side of the elastic, near the end. |
 |
 |
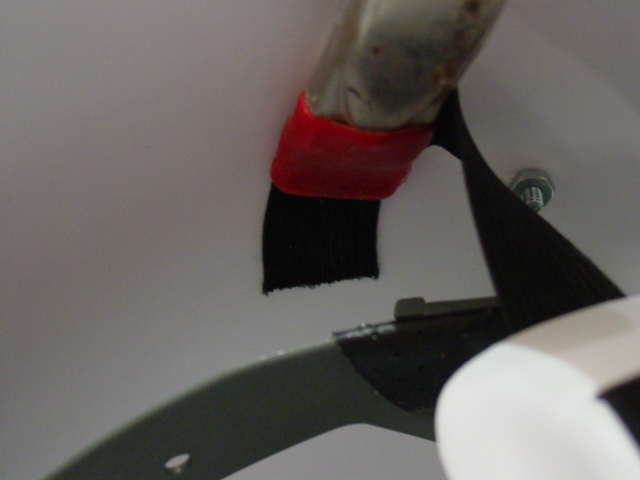 |
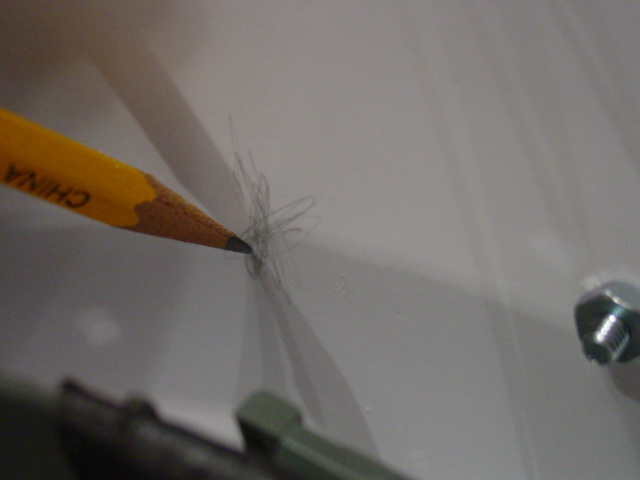
| Next, push the elastic over the long screw, and fit with the nut. Tighten down the nut, but not too tight. | Measure the distance from the brim of the helmet shell, to the long bolt, and mark this distance on the right hand side. | Using super glue, glue the end of the elastic to the right inner temple. Allow the glue to dry. I use a small piece of velcro to cover the end of the elastic, just for a neater appearance. |
 |
 |
 |
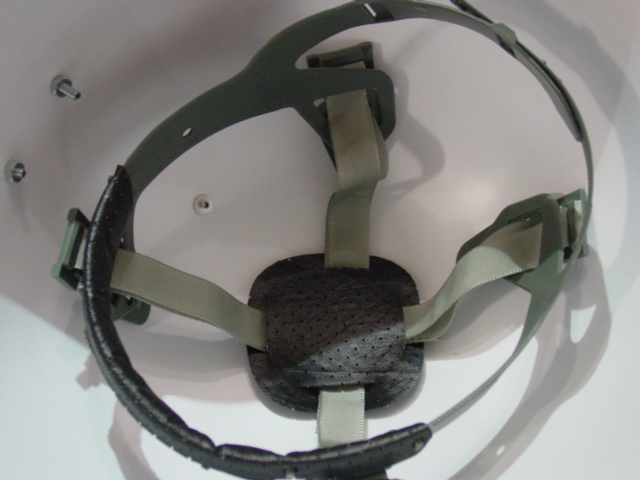
OPTIONAL HELMET LINER: If you use a hard hat liner, here is how I mount it. Put the hard hat liner on you head. Be sure you know the front from the back, and the top from the bottom. Once you have familiarized yourself with the liner, place it in the helmet as shown. |
Orient th liner with the sweat band facing front, and mark with a pencil where the plastic tabs touch the helmet shell. These are your mounting points. | Expand the marks. This will aid in aligning the velcro patches, and give you a little room for final adjustments. |
 |
 |
 |
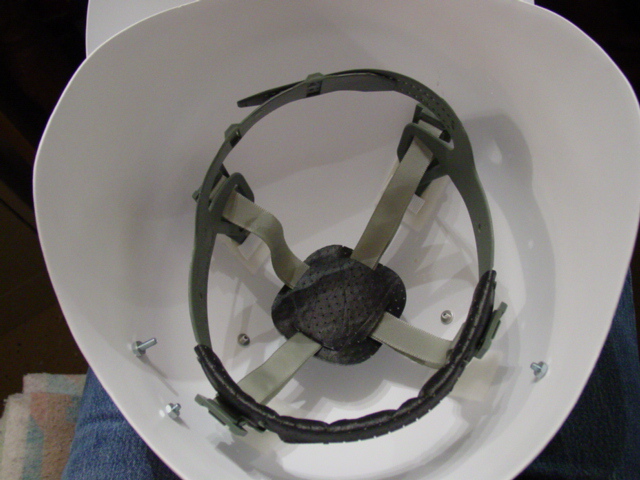
| After applying the loop side of the velcro to the helmet shell, take some of the hook side of the velcro, and wrap the plastic tabs with it. | Replace the helmet liner in the helmet shell, and adjust the velcro for a secure fit. When you are happy with the mounting location, you can add a dab of glue to the velcro joints for added security. | Thats it, your done! Wear and enjoy, but remember, these are not safety helmets, and are intended for costume use only. |
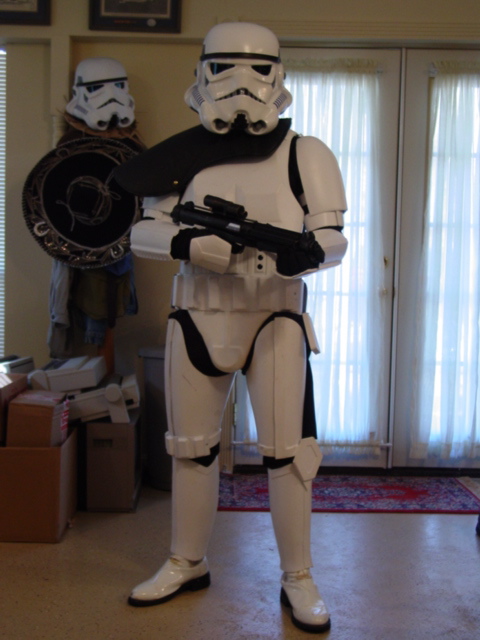
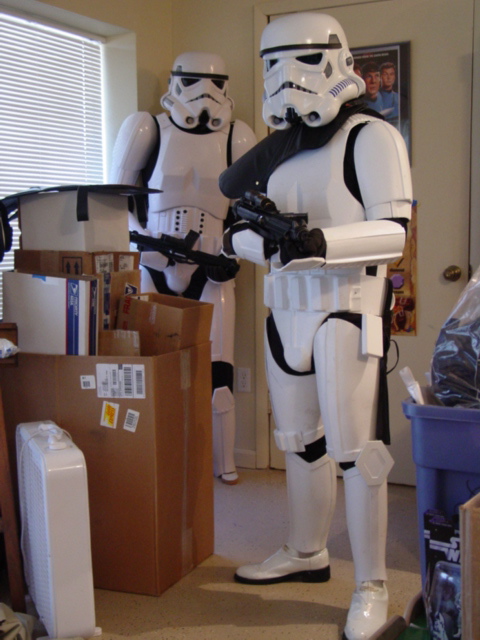

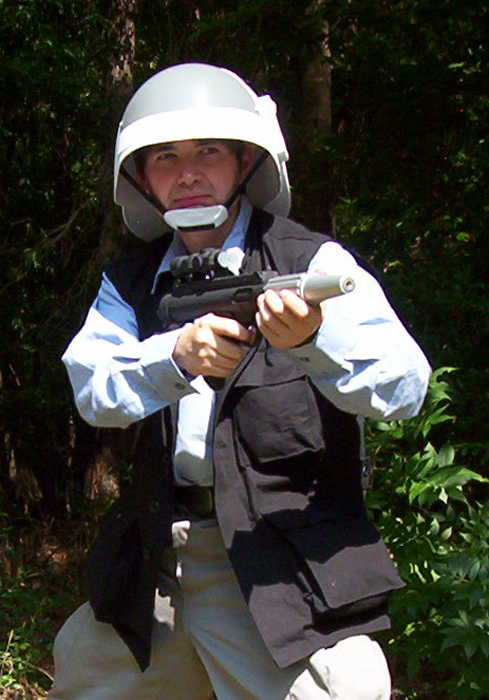
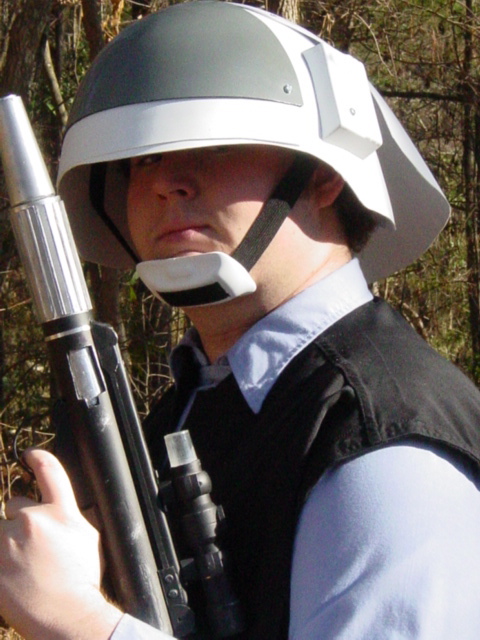
The Finished Costume:
Click on the image for larger view. |
Just about anyone can wear this costume. Even though we never saw women in the RFT role, there is no reason female Fleet Troopers would not exsist in the Star Wars universe. |
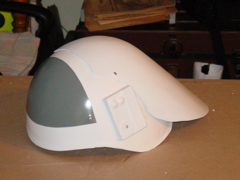
Rebel Fleet Trooper Helmets [Limited Supply]
Vacuum formed versions of the RFT helmet, straight from the fan film!
Here is a shot of the latest prop, the Rebel Fleet Trooper helmet. Sometimes called 'Rebel Blockade Runner'. This is based on a mold taken from an actual WWII US Navy Mark II 'Talker' helmet, and 3 custom made vac-form molds. The communication box, the rear swoop, and the chin cup. If you want to know more, email me. We made these for the fan film. Now, for a limited time, you can get one. These were to be used in the fan film, but due to budget over-runs, we can only have a limited the number of Fleet Troopers. Here is your chance to get one of the extra helmets from the production.
Just what you need to finish the Fleet Trooper costume, these were made to be used for the fan film, originally and when these extra helmets are gone, they are gone. Fewer than 20 were made.
RFT Kit, with instructions, and visor mounting hardware.
 |
 |
| Finished helmet Click here for more info | Kit, Click here for more info |
Other Links:
DH2- StudioCreations - How to site. Great references, and a great tutorial!
SWTroopers.com - Another great reference site for the Fleet Trooper.
Last update, Jan. 5, 2007